Woodworking
Last year, with a set of spare tools given to me by my Dad, I decided to try my hand at woodworking. At school I did 'Resistant Materials,' which is like the UK's 'shop class,' and even though we only made crappy stuff out of glue and MDF (which itself is mostly glue), I enjoyed working with my hands. Since then I have done all my work at a computer, which I guess motivated me to eventually pick the tools back up. Through experience I had also come to find the limits of 3D printing (namely, making large things without waste) which I hoped to shore up with good old timber. Wood is a broadly sustainable material which does many jobs just fine. It is also warm, and equally calming to work with as it is to have around the house.
I get all of my stock from a timber recycling center. It's cheap as hell, but difficult to find lots of the same size/species (unless you are literally using pallet wood or scaffolding board). I tolerance my dimensions as widely as possible, sometimes tens or hundreds of mm, to maximise the chances of me finding a scrap that works. I also end up doing a lot of planing and sanding to flatten the sides; often not enough. We don't have a garden so I work in the car park.
Spice rack
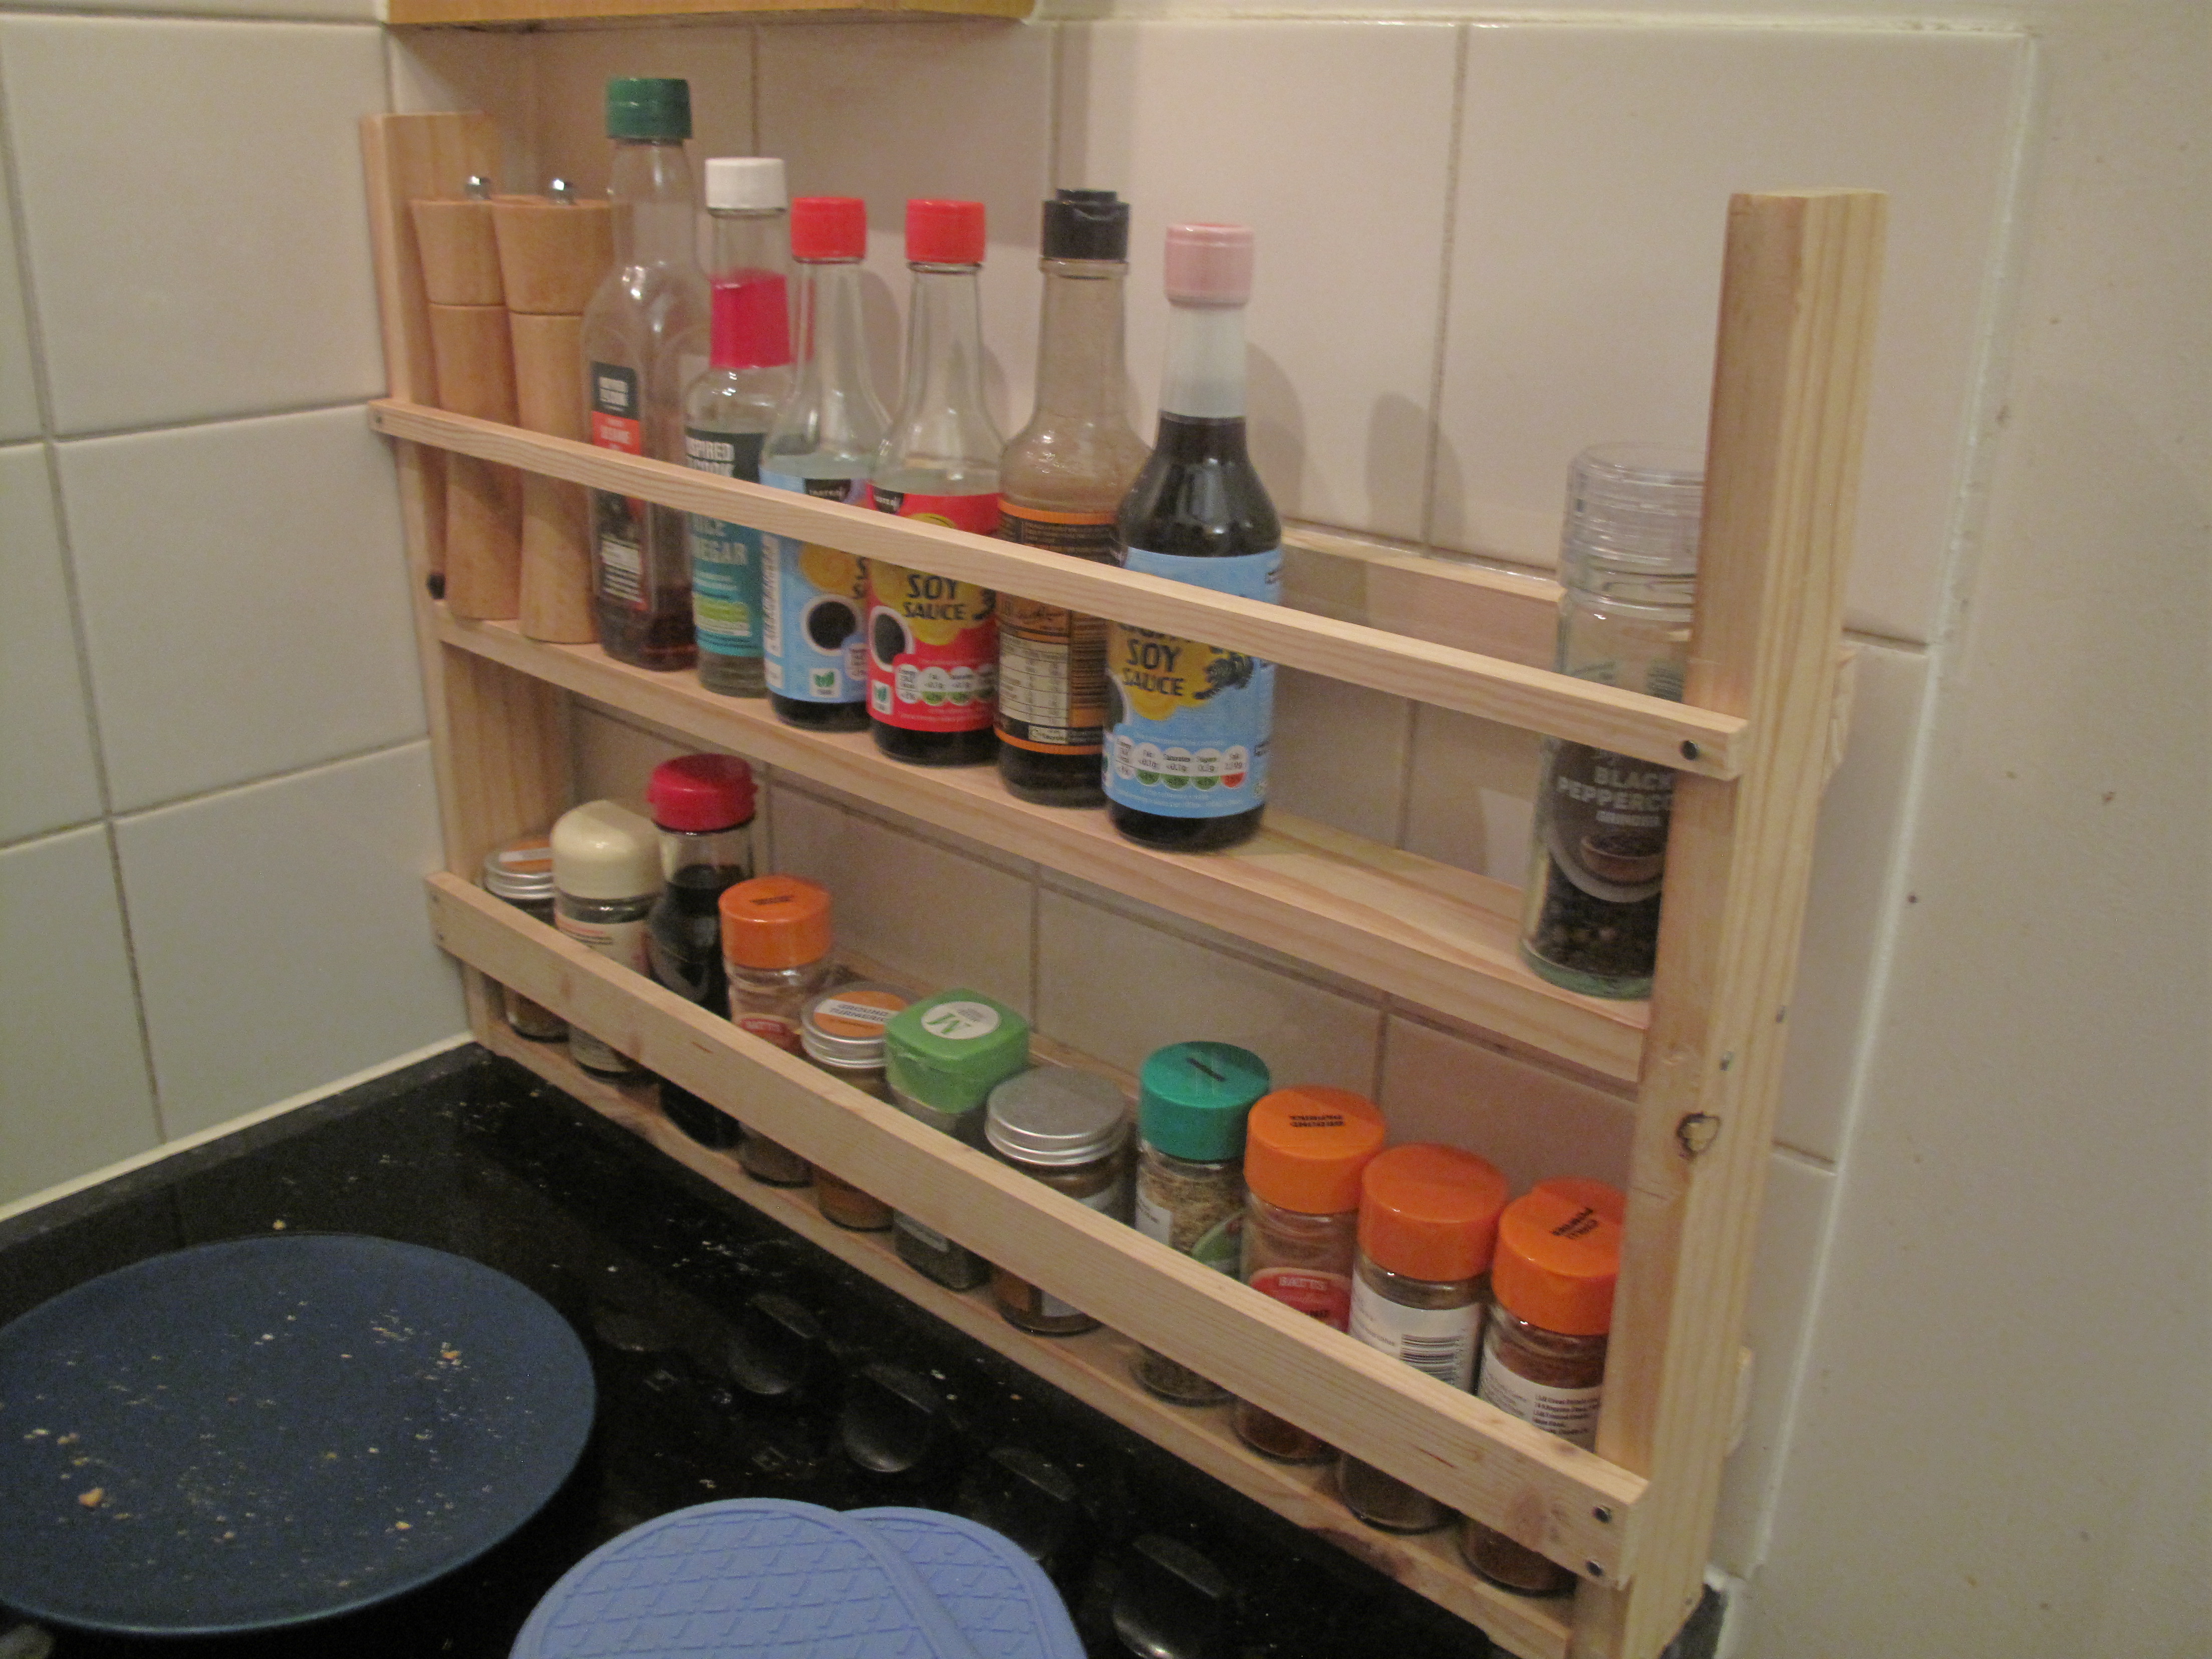
The first thing I made was a spice rack. We had just moved into a new flat with a tiny kitchen, and there was a sliver of surface next to the hob begging to be used. I used a pine board I had found on the street and kept in my room for at least 6 months, along with some warped strip wood from a closing down sale at a nearby Homebase.
After failing to strip the paint from the pine using vinegar (I wanted to avoid chemical strippers as long as possible), I got a heat gun off Ebay and scraped it off. I then planed and sanded the boards, cut them to length, and used a Stanley 3XX egg-beater drill to make holes. The final assembly (pictured below) used a combination of nails and screws.
Toothbrush stand
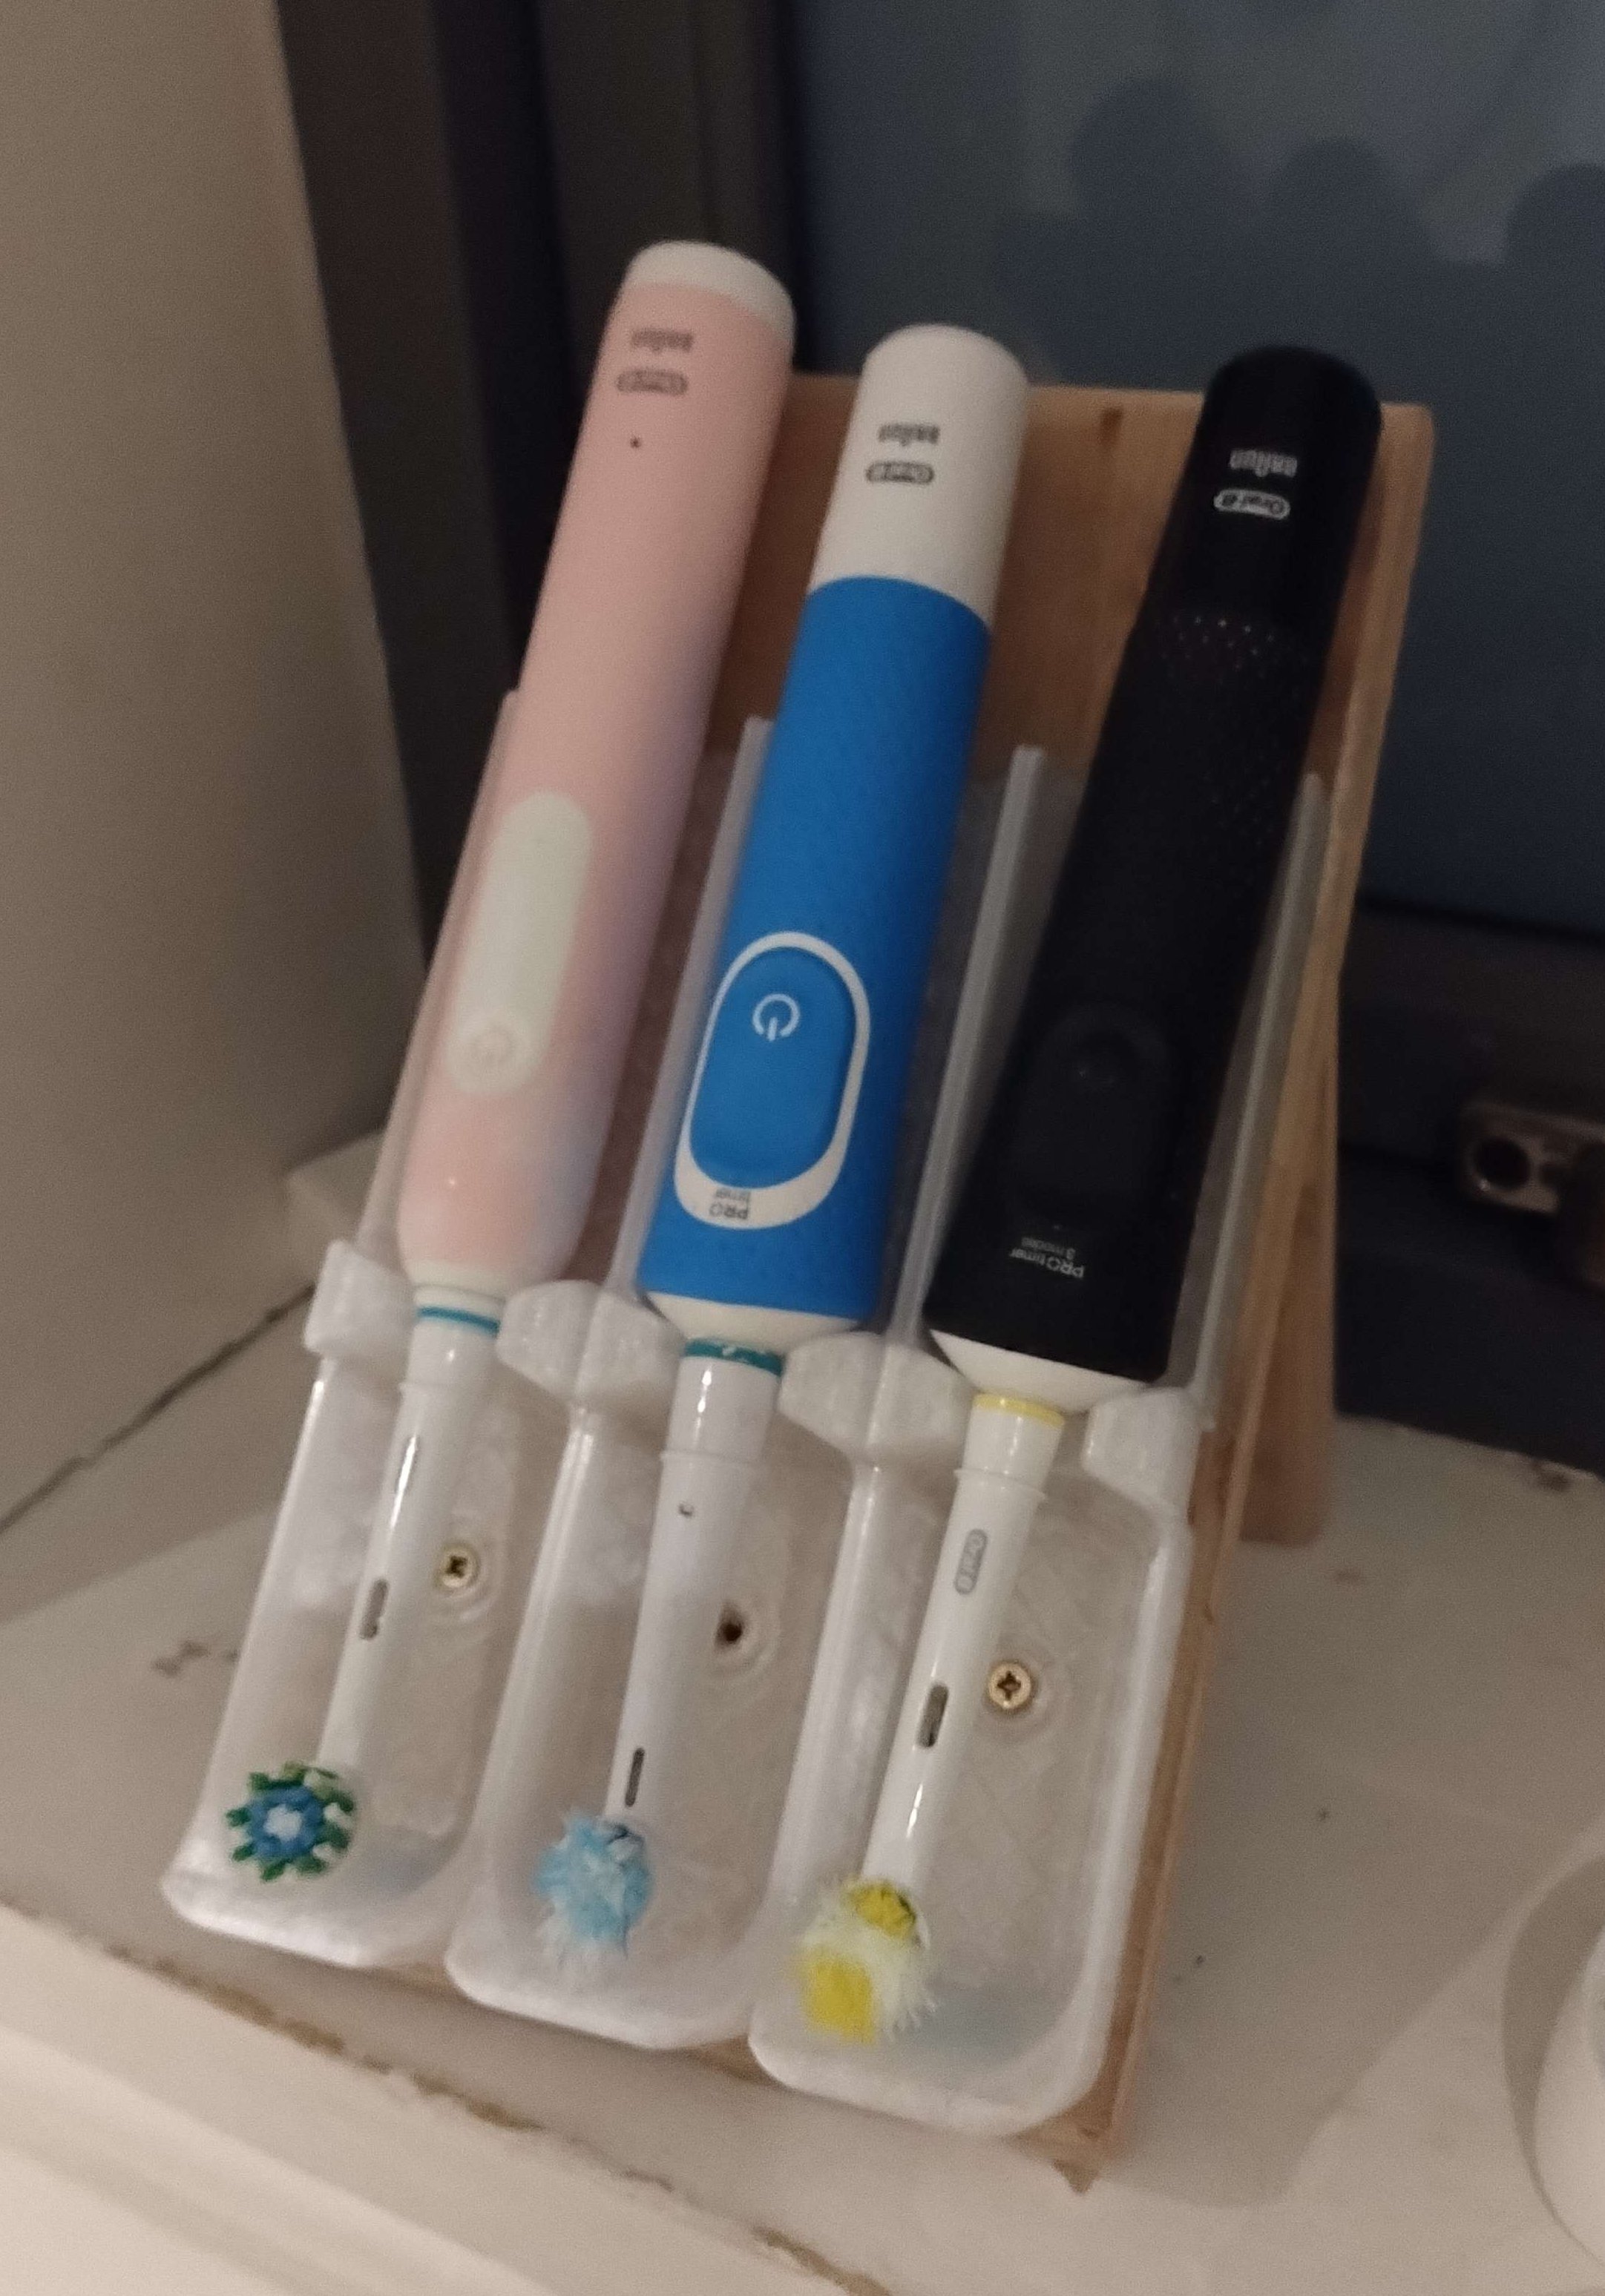
Toothbrushes, particularly electric ones, are a nightmare to store in a way that keeps them clean, dry, and accessible. I designed a 3D-printed holder which suspended the handles upside-down and allowed moisture to drain into a small reservoir, which could be easily wiped every so often. I screwed three of these to a plywood backing with an angled foot. Attaching the foot turned out to be the hardest part of this project, as my limited work-holding equipment made drilling the holes a nightmare.
Box
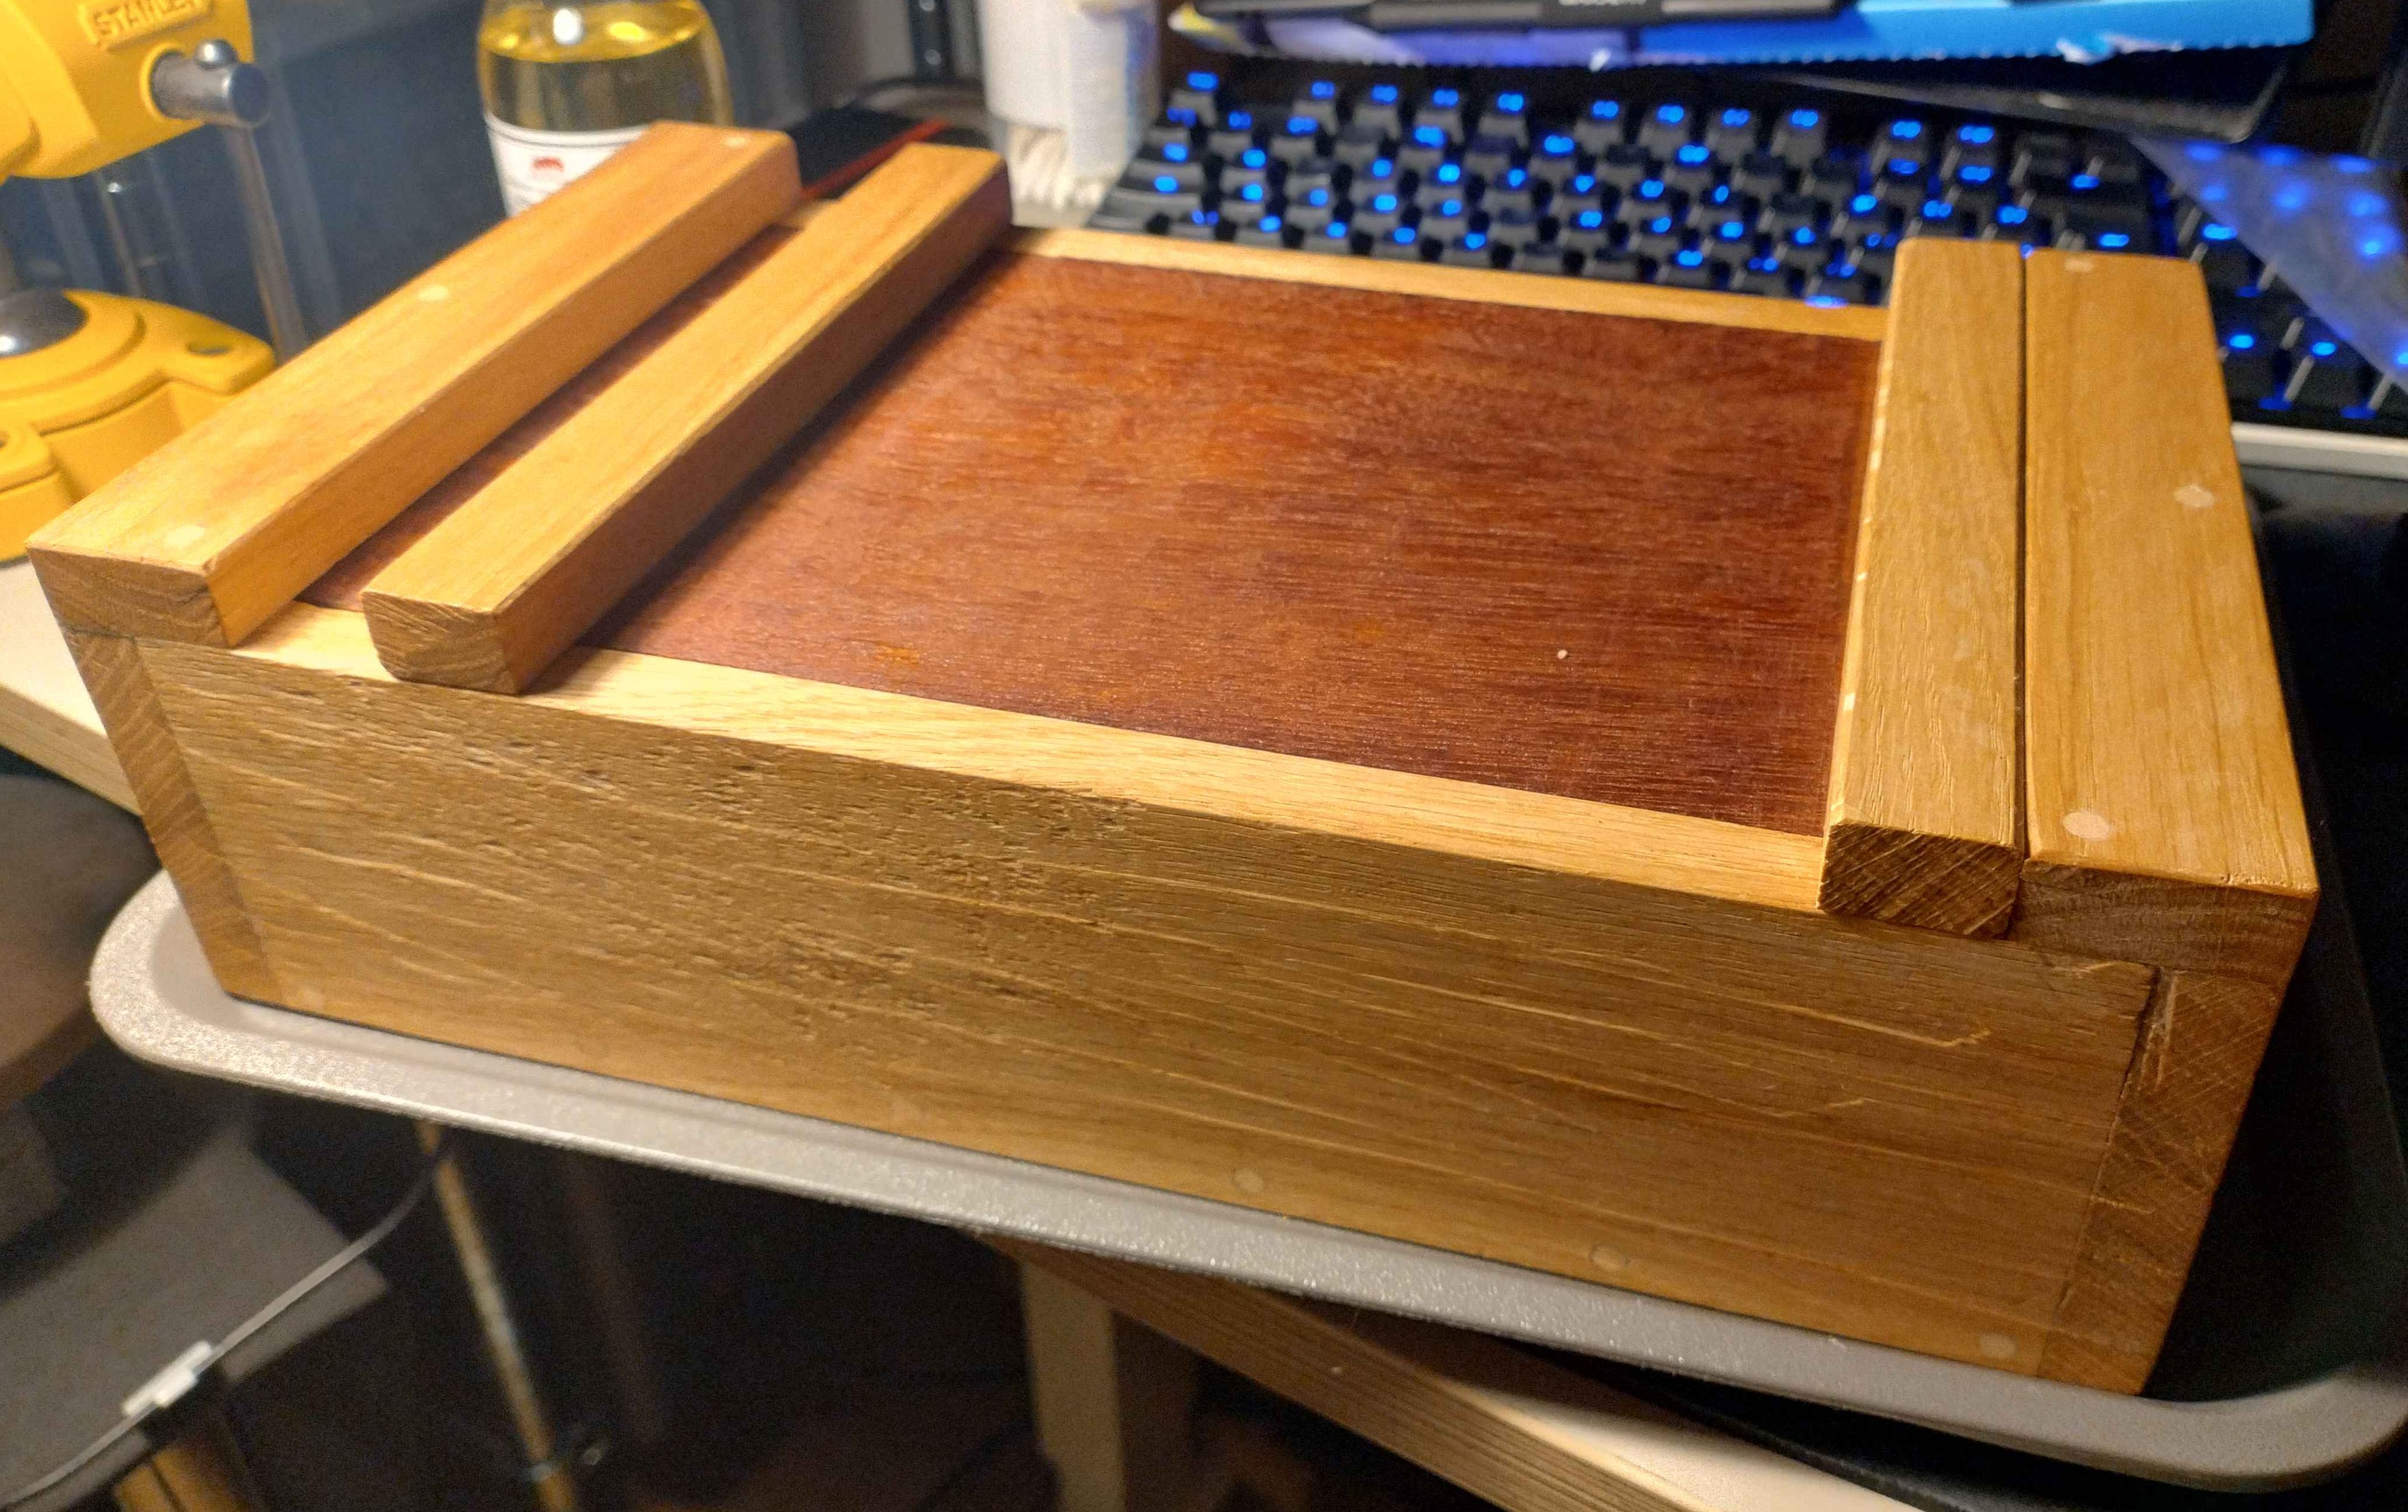
For my Mum's 60th I tried my hand at box-making. I opted for oak stock, a lid style inspired by Japanese toolboxes, and metal-free joinery. Getting the pieces square and flush was a nightmare, but an educational one. I screwed up the lid at the last hurdle (gluing the finger-pulls) so it has way more slop than it should, but not enough to be noticeable to the eye. I finished the construction with just enough time to apply a linseed oil finish.
CD rack
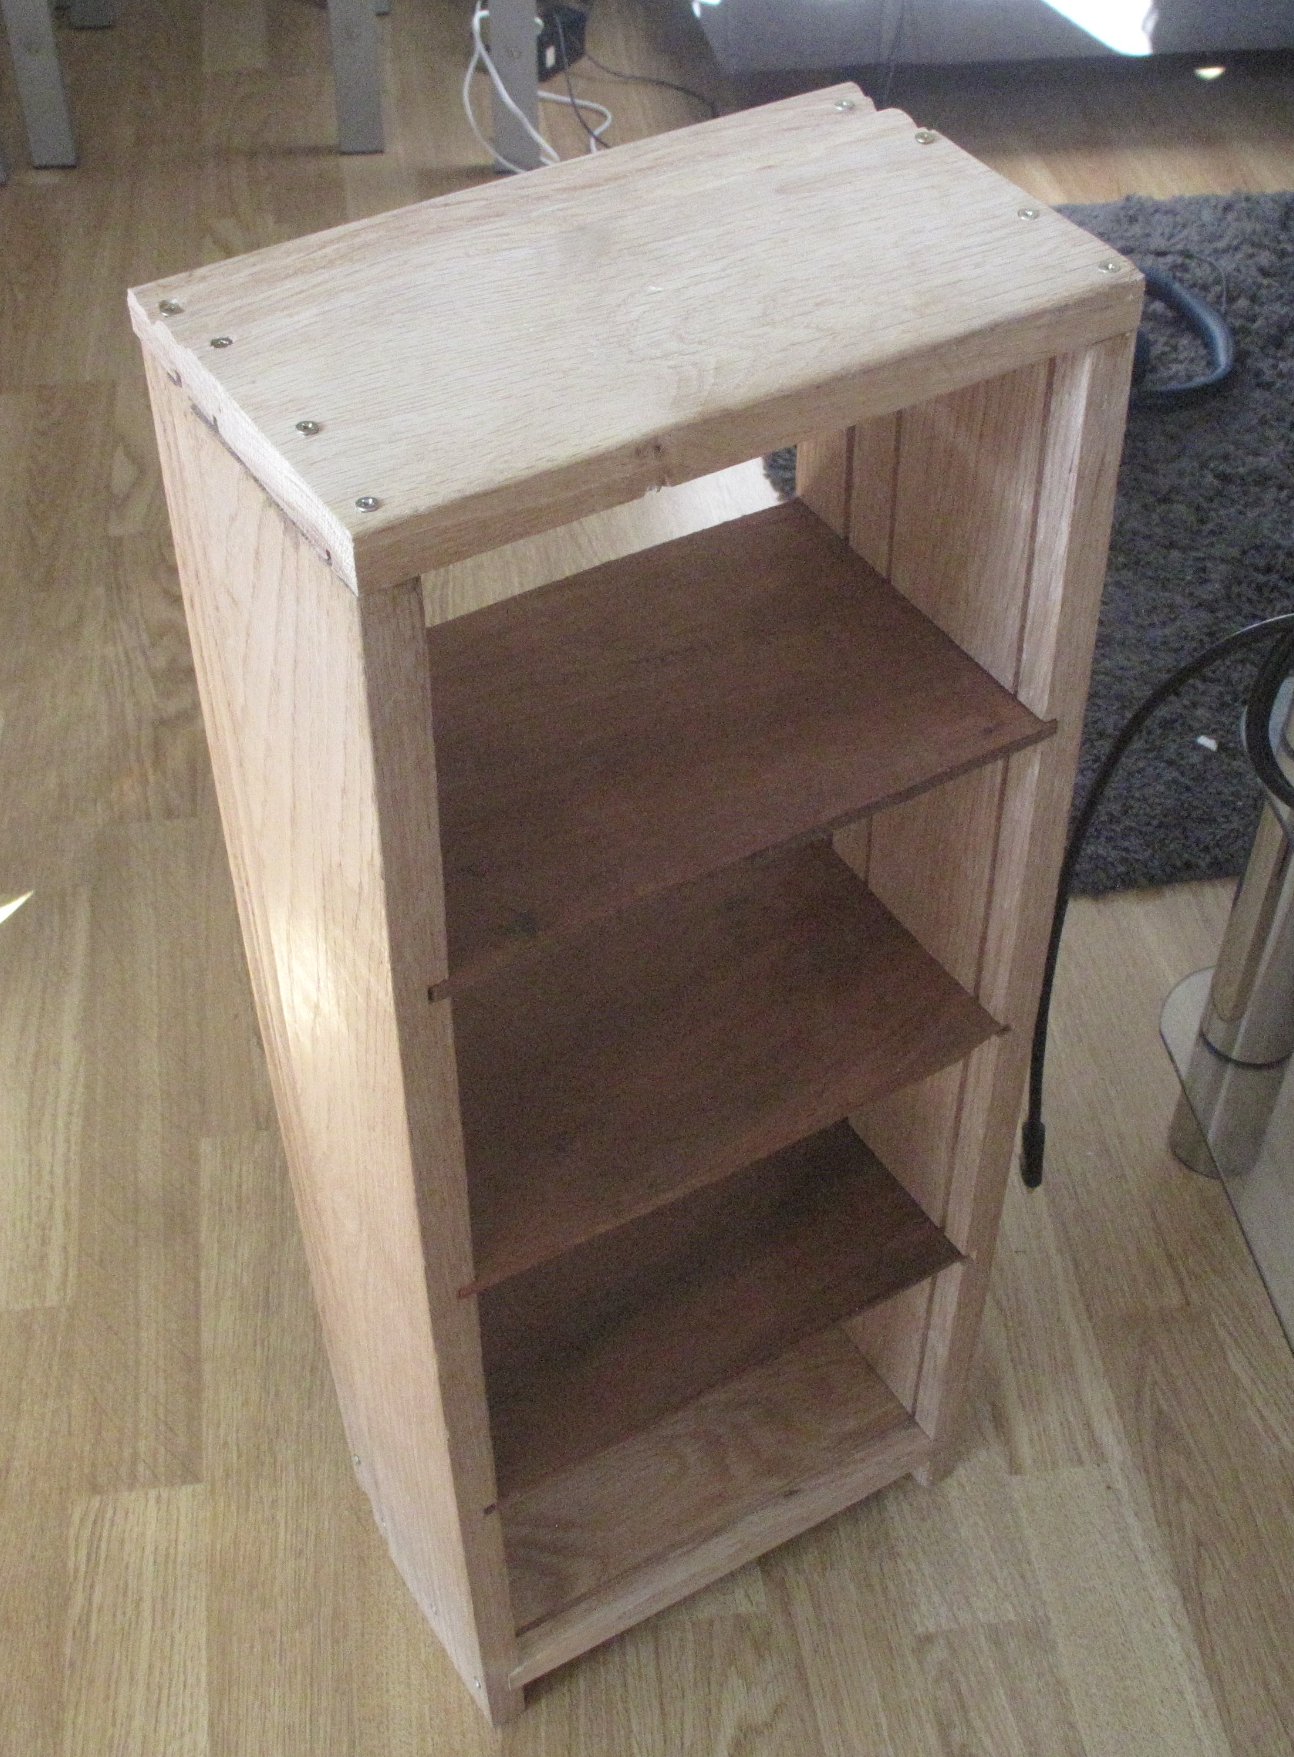
After several months of storing our CDs on our bookshelf, I built a dedicated rack. I wanted the shelves to be thin and friction-fit into grooves, which most online woodworkers would cut with a table saw or router, neither of which I was looking to buy. Instead, I bought a Dozuki (Japanese pull-saw with a spine for rigidity; equivalent to a tenon saw), cut the sides of each groove, then chiselled out the waste. My amateurish joinery (and the stock's horrific warp) forced me to assemble with screws rather than dowels as originally planned, but the result was good enough.